
Product Display on a Stall: Plinths, Shelves, Showcases and Heroes
How to display products on an exhibition stall: choosing plinths, shelves or showcases, picking a hero product, sizing, lighting and keeping exhibits safe.
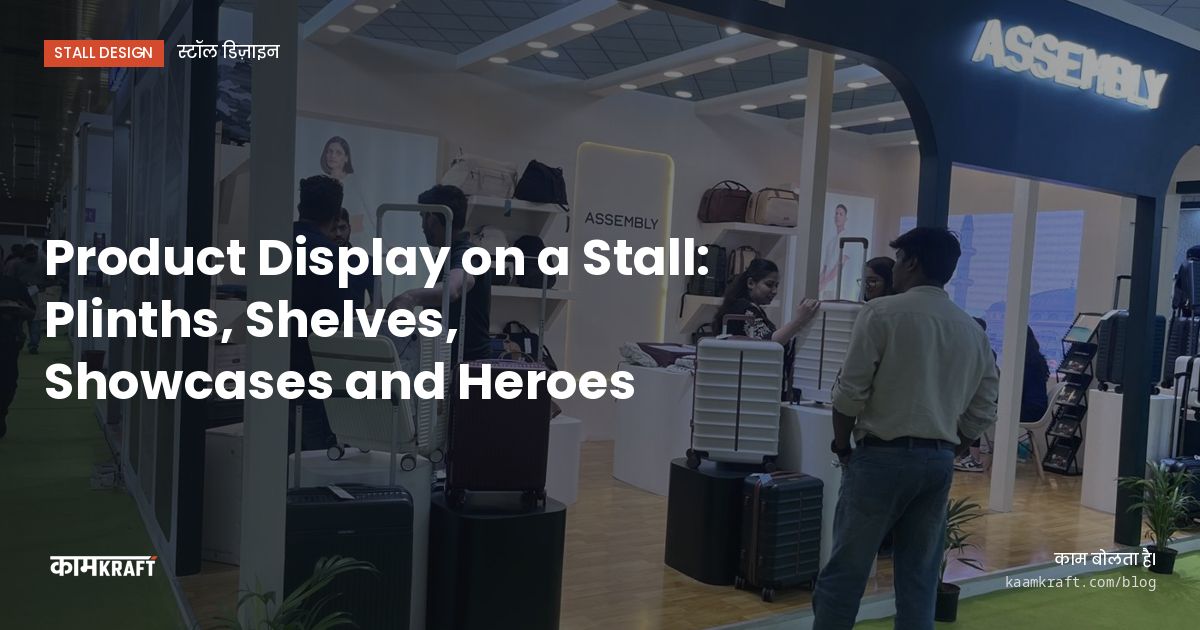
The right product display depends on three things: how big your products are, how valuable or fragile they are, and whether visitors need to touch them. Large or heavy items want low plinths and open floor. Small items want shelves at eye level, often behind glass. Expensive or delicate items want locked showcases. Almost every stall also needs one hero product placed where the aisle can see it first.
Most display problems we see on show floors come from trying to show everything at once. A stall is not a warehouse. Pick what sells the conversation, give it room and light, and keep the rest in a catalogue or on a screen.
Start with one hero product
A visitor walking down an aisle gives your stall a few seconds. In that time they should be able to answer one question: what does this company make? A single hero product, raised, lit and placed on the most open face of the stall, answers it faster than a wall of twenty items.
Choose the hero by asking which product starts the best sales conversations, not which one is newest or most expensive. On a corner stall, the hero usually sits near the corner so both aisles can see it. On an inline stall, it sits slightly off-centre at the front so it does not block the entrance. The same thinking applies to every exhibition stall we design, whatever the size.
- Raise it: a plinth brings the product closer to eye level and separates it from the floor clutter.
- Give it space: nothing else within arm's reach on at least two sides.
- Light it on its own: a dedicated spot or a lit plinth top, not just the general stall lighting.
- Label it simply: product name and one line on what it does, readable from the aisle.
Plinths, shelves and showcases: which to use
Plinths
Plinths suit mid-size and large products: machines, appliances, fixtures, packaged goods shown as a set. Heights typically range from low platforms for heavy equipment to waist or chest height for things people should look into. Build plinths in the same finish family as the stall walls so they read as part of the design, not hired furniture.
For heavy exhibits, tell your fabricator the product weight and footprint early. The plinth structure, the stall floor and the route the product takes onto the stand all depend on it. If the item needs a forklift or crane, that has to be planned with the organiser, so check the exhibitor manual for move-in rules.
Shelves and wall displays
Shelves work for ranges: tiles, fittings, bottles, components, consumer packs. Keep the most important row between roughly waist and eye height, where people actually look. Low shelves near the floor get kicked and ignored, and top shelves above head height are only good for repeats of the brand or large lightweight items.
Lit shelves, with LED strips hidden in the shelf lip or a backlit panel behind, make a range look organised. Leave enough depth for the product plus a small label rail, and fix products in place if the show runs long or the aisle is busy.
Showcases
Glass or acrylic showcases protect small, valuable or delicate items: jewellery, instruments, precision parts, premium packaging. They need internal lighting, because glass reflects the stall lights and hides what is inside. Decide early whether showcases need locks and who holds the keys during build-up, show days and overnight.
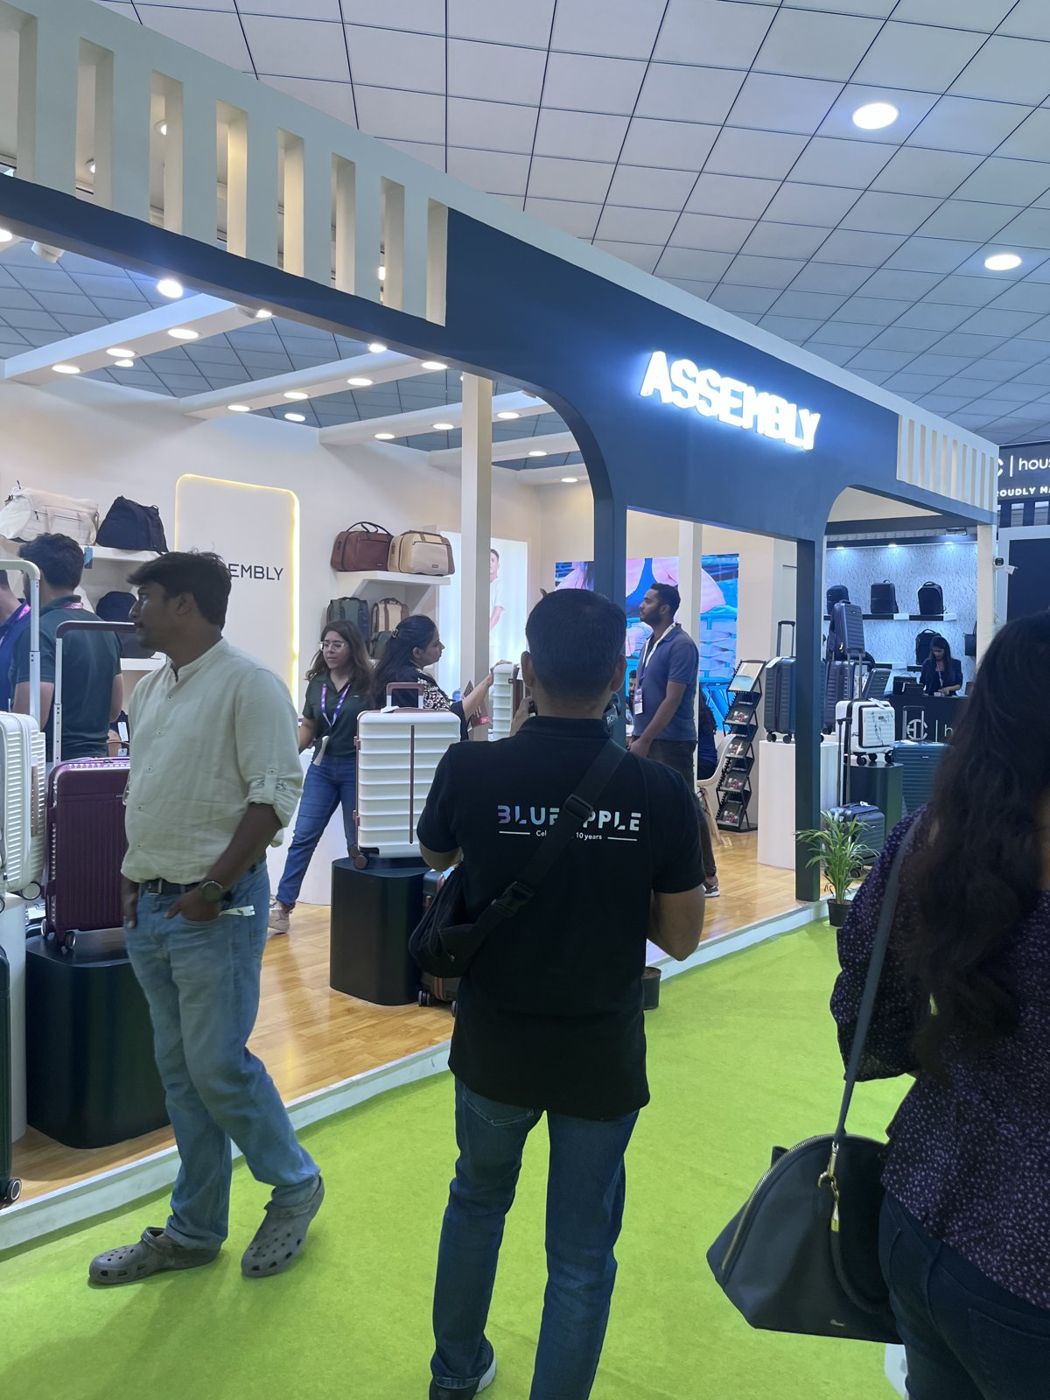
Touch, demo or look only
Decide for each product whether visitors should handle it. Products people should touch need to be within reach, at a sensible height, and robust enough for hundreds of hands. Products that are look-only can sit higher, deeper or behind glass. Mixing the two on one shelf confuses visitors and staff alike.
If a product needs to run or be demonstrated, it belongs in a demo zone with its own power, clearance and staff, not on a display shelf. Plan that separately, because a demo changes power load, safety distances and crowd flow.
Sizing the display to the stall
A common mistake is filling the stall edge with display so visitors cannot step in. Keep the front of the stall open enough for two or three people to stand inside without blocking the aisle. Push long display runs to the back wall or side walls, and use the front only for the hero and perhaps one supporting piece.
- List every product you plan to show, with dimensions and weight.
- Mark which are hero, supporting and catalogue-only.
- Cut the list until the supporting items fit on one wall or one run of plinths.
- Check that the open floor left over still allows visitors to walk in and talk.
- Only then decide finishes, lighting and graphics around the display.
Lighting and graphics around products
Products need more light than the rest of the stall, and the light should come from the right angle. Downlights over a plinth, strip lights inside a shelf lip and internal showcase lighting all do better than one bright floodlight from the front, which flattens shapes and causes glare. Ask for a colour temperature that suits your product: warm light flatters wood and food, neutral light suits machinery and packaging.
Keep graphics near products short. A product name, a key number you can stand behind, and a QR code to a spec sheet are enough. Long paragraphs on a plinth face rarely get read on a busy show day.
Security and handling through the show
- Agree who brings products to the stall and when, so they arrive after the dusty build work is done.
- Plan lockable storage for spares, samples and anything that should not stay out overnight.
- Fix small items with discreet clips or adhesive pads if theft or knocks are a concern.
- Check the organiser's rules on overnight security and insurance in the exhibitor manual.
- Keep a simple product list at the stall so staff can check items at open and close.
Display units we build in the factory are dry-assembled with the rest of the stall, so shelf depths, plinth heights and showcase fits are checked before anything travels. You can see how that works on our factory page. Display pieces such as plinths and showcases are also among the easiest parts to reuse across shows.
Planning a stall?
Send us your product list with sizes and weights, the stall size and the show, and we will suggest a display layout that gives your hero product room to work. Start with Plan your project, or WhatsApp or call us on +91 70190 58391.