
Island Stall Design: How to Plan for Four Open Sides
How to design an island stall open on four sides: build around a core, give every side a job, plan overhead elements and check approvals before you build.
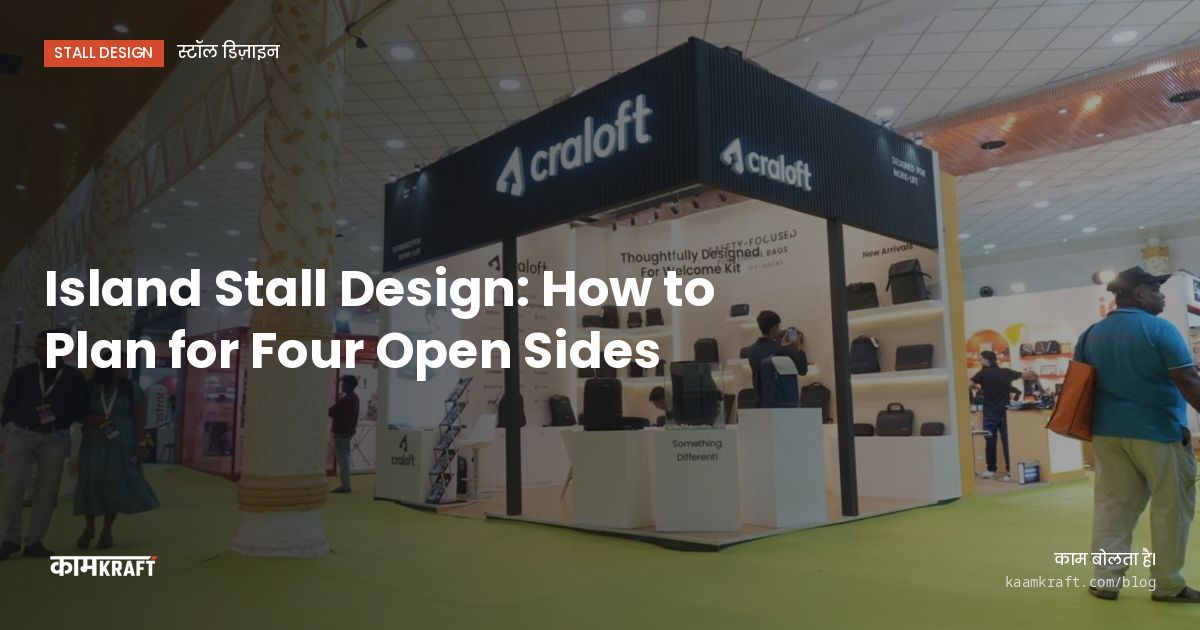
An island stall is open on all four sides, so there is no back wall to hang the brand on and no obvious front. The design has to give visitors a reason to approach from any aisle, and still create a few places with enough privacy for real conversations. The usual answer is a central core, such as a store, meeting room or feature wall, with open zones around it and an overhead element that marks the stall from a distance.
Island stalls are the most visible spaces on a floor and usually the largest investment at a show. They reward careful planning of sightlines, movement and approvals, because mistakes are seen from every direction.
Start with a core
Most island stalls work around a central block. It gives the stall structure, hides the clutter, and provides surfaces for graphics, since the four edges must stay largely open. Common options:
- Store core: a small enclosed room at the centre for stock, bags and a pantry, with graphics on its outer faces.
- Meeting core: a closed or semi-closed meeting room, useful for B2B stalls where deals are discussed.
- Feature core: a tall sculptural element or lit tower that acts as the brand marker and holds screens.
- Split core: two smaller blocks, leaving a walkway through the middle.
Keep the core off-centre if one aisle is busier. That gives the main approach a bigger open zone.
Size the core from what it must hold, not from how it looks in the render. List the stock, the number of people who will meet inside, and any equipment such as a pantry counter or network rack. A core that is too small pushes boxes onto the open floor by the second day; one that is too large eats the space visitors should be walking through.
Every side needs a job
Walk around the 3D model and ask what a visitor sees from each aisle. A side that only shows the back of a storeroom wall is wasted. Give each face a role:
- Main approach: hero product or demo, with the brand at height.
- Second busy side: a secondary product line or a live demo area.
- Quieter side: meeting tables or lounge seating.
- Least visible side: a reception or registration counter, plus access to the store.
The roles change with the hall. Check entrances, food courts and the biggest neighbouring stalls on the floor plan before you assign them.
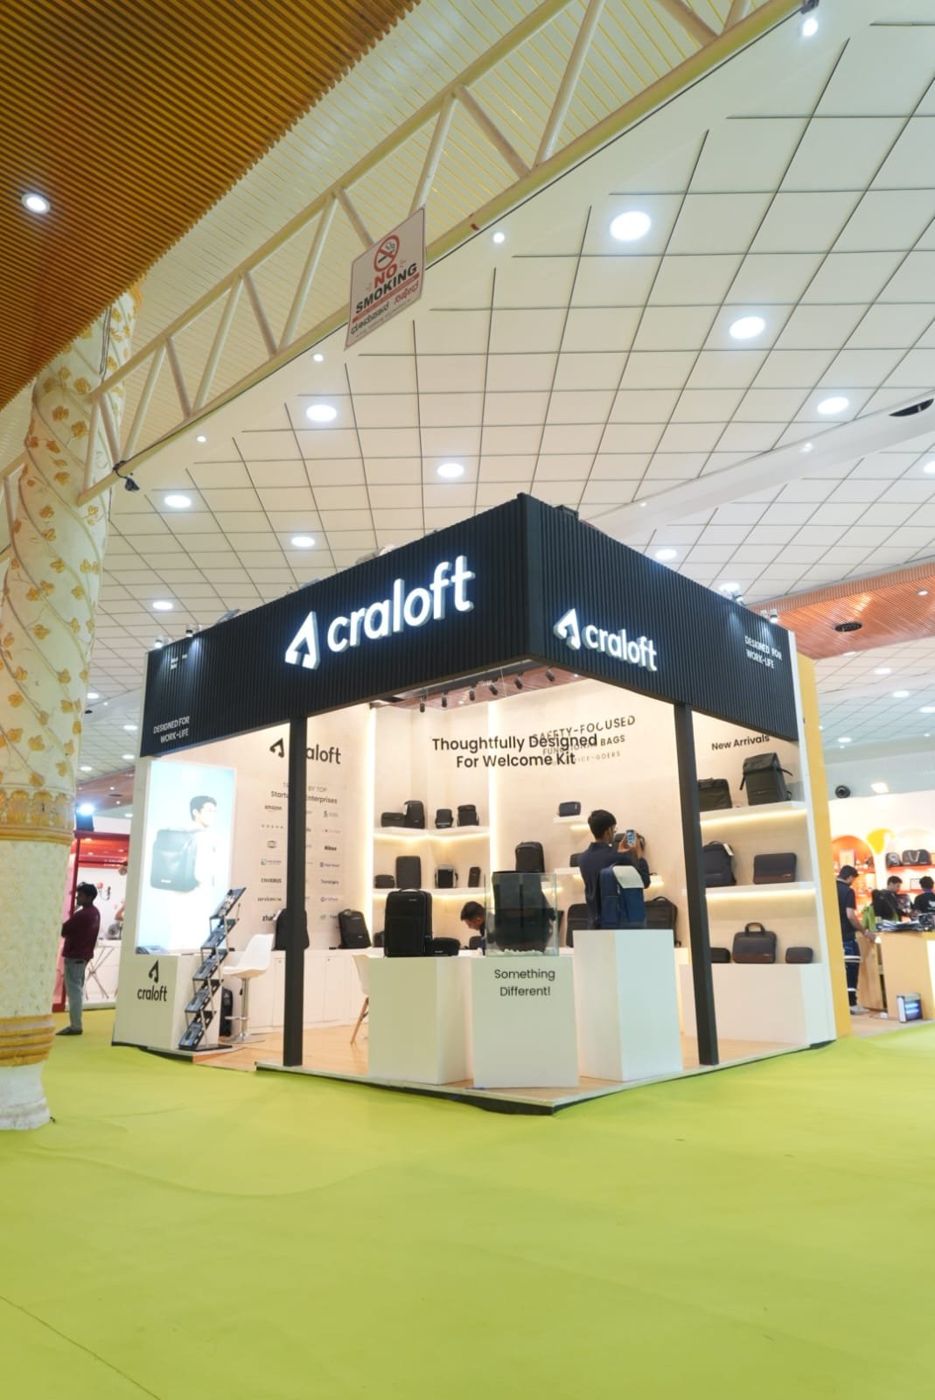
Overhead elements and height
With no back wall to carry a logo at height, island stalls often use an overhead header, a raised fascia on columns, or a hanging banner. These are what visitors see across the hall. Before designing them, check in the exhibitor manual:
- Maximum build height for island stalls, and whether it differs from other stall types.
- Whether hanging banners from the hall roof are allowed, who rigs them, and the deadline to book rigging.
- Whether overhead elements need structural drawings or an engineer's sign-off.
- Setback rules: how far from the stall edge tall elements can start.
Overhead structures add steelwork or heavy timber framing and longer build time, so plan them early rather than adding them after the layout is fixed.
Movement and privacy
Open on four sides does not mean open everywhere. Leave clear, comfortable walking paths from at least two sides into the centre. Place furniture so groups can stand without spilling into the aisle. Use low walls, planters, shelving or a platform edge to suggest boundaries without closing the stall.
For privacy, a semi-enclosed meeting area facing the quieter aisle often works better than a fully closed room, unless you are discussing pricing or contracts. If you do need a closed room, check the organiser's rules on enclosed spaces, ceilings and fire safety.
Power and cables across an open floor
With no perimeter walls, there is nowhere obvious to run cables. Plan a platform so wiring for screens, lights and demo points runs underneath, and confirm with the organiser where the power supply enters your stall. Bring it into the core, where the distribution board can sit out of sight, and feed each zone from there.
Islands at large machinery shows
At heavy machinery shows, island stalls often host the biggest exhibits. At India ITME 2026, from 4 to 9 December at India Expo Mart, Greater Noida, a textile machinery exhibitor would plan the machine position first and the stall around it. The machine usually goes in before walls and platforms close the access, so confirm floor loading, move-in timing and crane or forklift arrangements with the organiser.
A stall built in Bengaluru for a show in the north has to be trucked across the country, which is why we ask for 6 to 8 weeks of lead time for shows outside South India.
Mistakes to avoid on island stalls
- Treating one side as the back. Visitors on that aisle see a blank wall and walk on.
- Overfilling the floor. Too many plinths and tables make the stall look like a warehouse.
- Ignoring the view from above. Where a hall has a gallery or mezzanine, visitors may look down on your stall, and a messy top of the store core shows.
- Leaving approvals late. Island stalls nearly always need drawings approved, and late changes delay build-up.
Planning an island stall?
Send us your floor plan, stall size and what each group of visitors should experience. We design in 3D, build and dry-assemble at our factory, and install with our own crew. Island structures can also be designed for reuse across shows. See more of our exhibition stalls. Start through Plan your project or call or WhatsApp us on +91 70190 58391.