
Exhibition Stall Lighting: What Makes Products Look Right
A practical guide to exhibition stall lighting: accent, wash and ambient layers, colour temperature, colour accuracy, hidden fixtures and power checks.
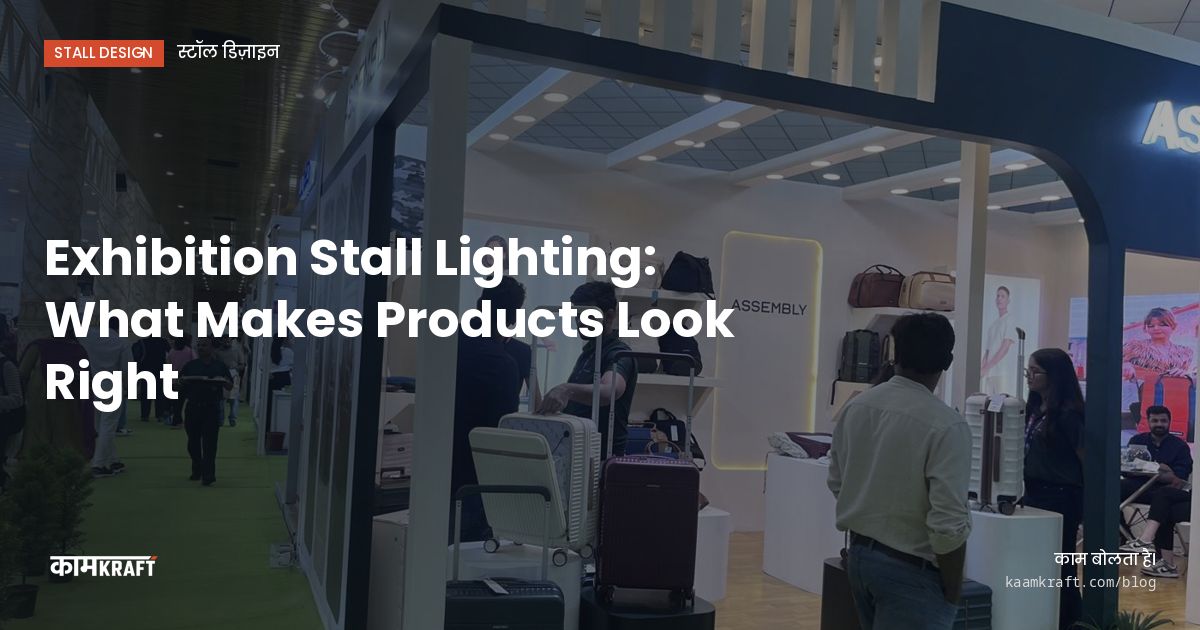
Products look right on a stall when the light on them is brighter than the light around them, the colour of the light suits the product, and nothing shines into visitors' eyes. Hall lighting usually comes flat from high above, and it makes everything look grey and similar. Your stall lighting has one job: lift your products and brand out of that background.
That does not mean more fixtures. It means the right type of light in the right places: accent light on products, even light on graphics, softer light where people talk, and hidden sources wherever possible.
Three layers of stall lighting
Accent light for products
Spotlights or track lights aimed at products create contrast, which is what makes an object stand out. Aim them from above and slightly in front, so the product is lit without shadows falling across labels. For glossy products, angle the light so reflections do not land in the visitor's eye line.
Wash light for walls and graphics
Graphics need even light across their whole surface. Linear LED fixtures along the top of a wall, or backlit fabric panels, give a clean, even glow. Spotlights on a large graphic create hot spots and dark corners.
Ambient light for meeting areas
Meeting spaces need comfortable light so people can read documents and see each other's faces. A pendant over a table, or indirect light bounced off a ceiling panel, works better than spots.
Light the counter and the people
Visitors judge a stall by the faces behind the counter as much as by the products. Light from directly overhead casts shadows under eyes and makes staff look tired by the afternoon. A soft light in front of the counter, or a lit counter top, fixes this. It also helps when visitors scan QR codes or read brochures.
Lightboxes
Backlit fabric lightboxes give large graphics an even glow that stands out from the hall. They work only if the LEDs inside are spaced and diffused properly and the fabric is printed for backlighting. Ask to see a lit sample of the print before the full run.
Colour temperature and colour accuracy
Colour temperature describes whether light looks warm (yellowish) or cool (bluish). Warm light flatters wood, food, leather and gold. Neutral to cool light suits steel, machinery, electronics, medical products and white goods. Mixing colour temperatures on one stall looks untidy, so pick one for the products and keep it consistent.
Colour accuracy, usually shown as CRI on LED specification sheets, tells you how faithfully a light shows colours. For textiles, paints, cosmetics, food and anything where the buyer judges colour, ask for high colour-accuracy fixtures. Poor strips can make reds look brown and skin look grey. If colour matters, see the actual fixture against your product before the show.
- Fabrics and apparel: high colour accuracy, neutral white, no coloured LEDs near the product.
- Food and beverage: warm white, high colour accuracy, lights kept away from heat-sensitive samples.
- Machinery and tools: neutral to cool white, with strong accent light on the working parts.
- Jewellery and watches: tightly focused accent light, planned with the showcases.
- Electronics: cool white, with care around screens to avoid glare.
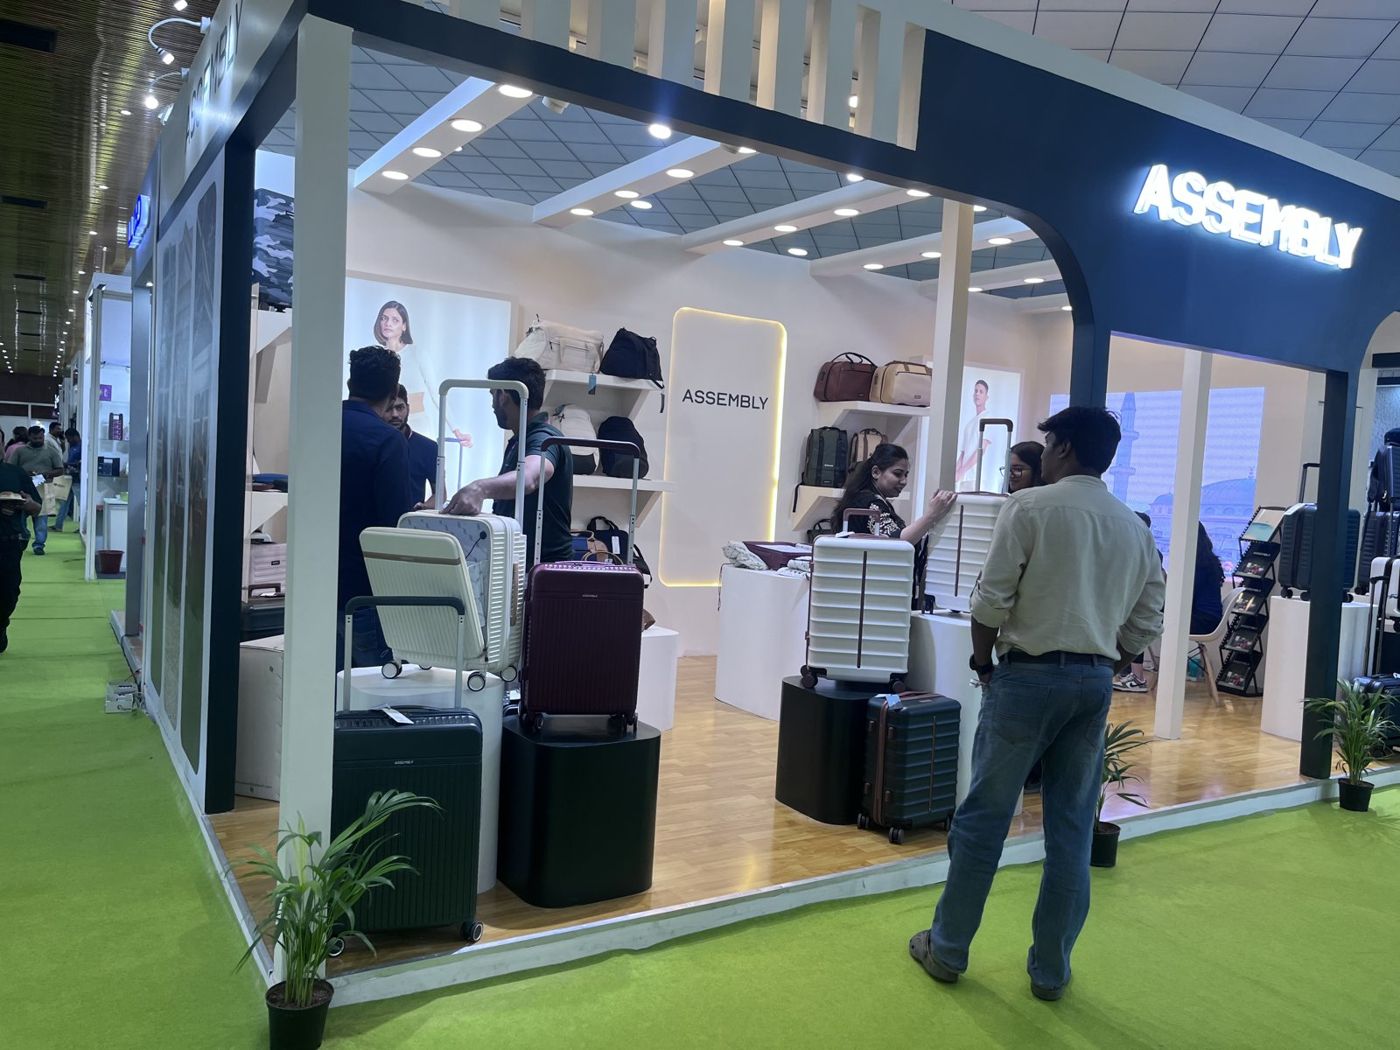
Hide the source, show the effect
Bare LED strips and exposed spotlights make a stall look temporary. Build lights into the structure instead: strips in shelf edges and recessed channels, backlit logos, lights hidden behind a fascia lip, and spots on slim tracks painted to match the frame. This is easiest when lighting is planned with the joinery, which is why we design it at the 3D stage and fit it at our factory during dry assembly, where we can test and re-aim before anything ships.
Hidden lighting also needs access. Drivers and connectors fail, so leave a removable panel or a reachable channel wherever a light is built in. A strip that cannot be reached without taking apart a wall is a problem on the second day of a show.
Power, heat and organiser rules
Every stall has a power allowance from the organiser, and lighting is often the largest part of it. Before finalising the design, check in the exhibitor manual:
- How much load your stall gets, and how to order more.
- When power is switched on during build-up, since you need it to aim and test lights.
- Rules on fixture types, wiring and who may do electrical work.
- Whether anything can be hung from the hall roof.
LED fixtures use less power and run cooler than older halogen lamps, which matters in a packed stall and near products that heat can damage.
Mistakes we see on show floors
- Lights aimed at the aisle, dazzling visitors.
- Only overhead light, leaving staff faces in shadow at the counter.
- Coloured LED effects washing over products and changing how they look.
- Lights switched on for the first time at the venue, with no time left to re-aim.
- Lightboxes with patchy glow because the LEDs inside are spaced too far apart.
Test before the show
Bring your hero products to a mock-up if you can and look at them under the chosen fixtures. Whether you are at BIEC Bengaluru or a smaller hall, ask the organiser or a past exhibitor what the general hall lighting is like, so your stall lighting is set to stand out from it. For Chennai shows, our Chennai stall team follows the same process.
Planning a stall?
Tell us what you are showing and how buyers judge it. We will plan the lighting with the build, not after it. See more of our exhibition stalls. Start through Plan your project or call or WhatsApp us on +91 70190 58391.