
6x3 Inline Stall Layouts That Pull Visitors In from the Aisle
Four 6x3 inline stall layouts that turn passers-by into visitors, plus how to use side walls, where to hide storage and the mistakes that keep people out.
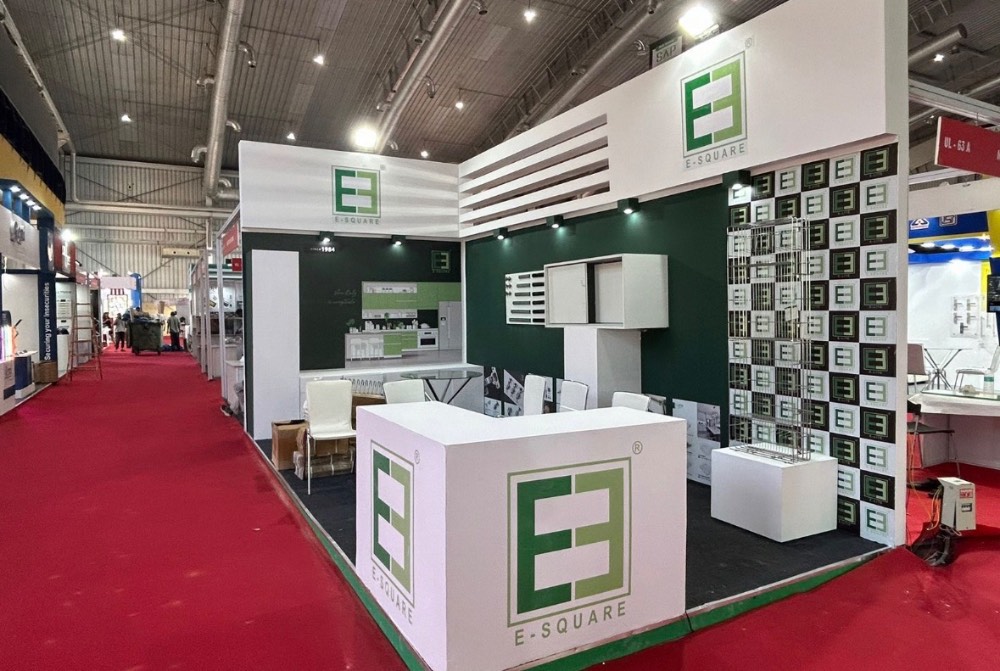
A 6x3 inline stall has one open side, six metres long, facing the aisle, with neighbours on both sides and a wall at the back. Visitors only see you while they walk past that six-metre edge, so the layout has one job: give people a reason to turn and a clear way to step in.
The layouts that work best keep the front open, place a strong visual where walkers see it first, and split the space into two zones: one that attracts and one where you talk. Here are the patterns we use and how to choose between them.
How visitors actually see an inline stall
People walking an aisle look ahead and slightly to the side, not straight into each stall. They notice an inline stall a few metres before they reach it, at an angle, and decide in a few steps whether to slow down. That means your side walls and the far end of your back wall are seen first, not the centre.
It also means the stall has to work from both directions. Traffic from the nearest hall entrance may be heavier, but visitors loop back. Walk the floor plan in your head from both ends before you fix the layout.
Four 6x3 layouts that work
Split stall: display one side, meetings the other
Divide the six metres into two halves. One half carries the hero display, product plinths or a screen. The other holds a small round table with two or three chairs, partly screened by a low wall or a shelf unit. Visitors are drawn in by the display and move to the meeting side once a conversation starts.
Central feature, side counters
A single feature wall or lightbox sits in the centre of the back wall, with slim counters or shelves on either side. It is symmetric and calm, good for brands with one strong message. Keep the counters slim so the middle stays open as the entrance.
Angled walk-in
Set a display wall at an angle from one side, so the stall opens like a funnel towards the main flow. Visitors coming from that direction see straight in. The angled wall also creates a small hidden store behind it.
Demo strip
For products that need to be touched, run a low demo counter along part of the front, set back from the aisle line by about the depth of a person standing. Keep at least one wide opening so visitors are not forced to stand in the aisle to use it.
Using the side walls and back wall
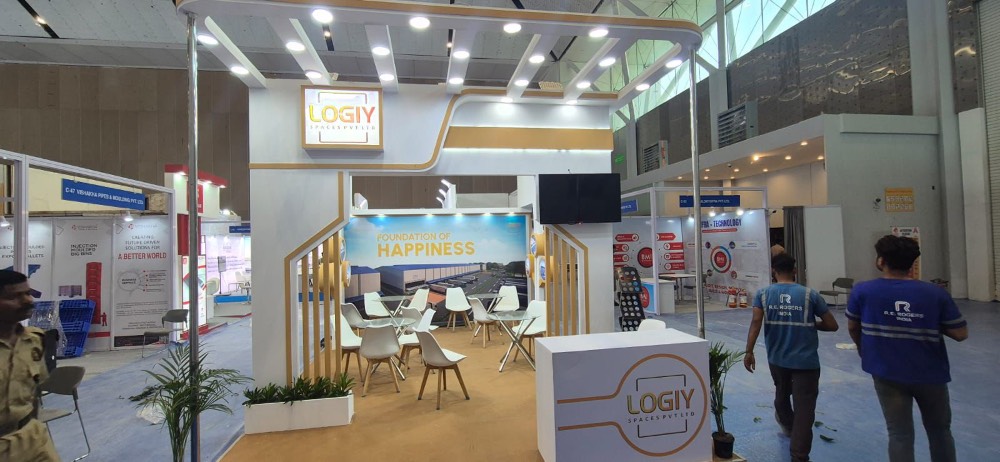
On an inline stall, the side walls are shared boundaries with neighbours. They are also the first thing a visitor sees from a distance. Put your name or a bold graphic on the aisle ends of the side walls, at a height that clears people's heads. Check the exhibitor manual for the maximum height of side walls and whether they can run all the way to the aisle, since some shows limit this near the front.
The back wall carries the main message. A six-metre back wall tempts people into a long run of text, which nobody reads from the aisle. Give it a clear order instead:
- Logo high on the back wall, visible over the heads of people standing in the stall.
- One proposition line at eye level, short enough to read while walking.
- Product or hero image towards the end visitors approach from.
- Contact details and a QR code at counter height, for people already inside.
Mistakes that keep visitors in the aisle
- A counter along the full front. It turns the stall into a shop window and your staff into shopkeepers.
- Staff standing in a line at the edge. Visitors avoid eye contact and walk on.
- Furniture in the centre. A table in the middle of a 6x3 blocks the only way in.
- The same graphic on every wall. Repetition looks like filler, so give each wall a different job.
- Lights pointing at the aisle. Glare makes visitors look away. Aim lights at products and walls.
Match the layout to your goal
Before you pick a pattern, write down what a good show looks like for you. If you want as many conversations as possible, choose the angled walk-in or the central feature, which keep the most floor open. If you want fewer, longer meetings with qualified buyers, the split stall gives you a seated corner without closing the front. If the product sells itself once touched, the demo strip earns its place.
Then check the choice against your staff numbers. Two people can run a split stall comfortably; a demo strip with live demos usually needs one person at the demo and one free to greet visitors.
Storage, power and the back strip
A 6x3 is big enough to take a narrow store behind a false back wall without visitors noticing. Even a strip a few hundred millimetres deep holds brochure boxes, bags and a water dispenser. Add a lockable door finished to match the wall.
Plan power points early. Screens, lightboxes and charging points all need sockets in the right places, and the load allowed for your stall is set by the organiser. Ask for your power allowance before the design is final, not during build-up.
We build inline stalls at our factory in Bengaluru, dry-assemble them and install with our own crew. For local shows, see our exhibition stalls in Bengaluru. For Chennai events such as Paperex South India 2026, from 3 to 5 December at Chennai Trade Centre, we plan transport from Bengaluru into the schedule.
Planning a 6x3 stall?
Share your stall number, the floor plan and the hall entrances if you know them. We will propose a layout and a 3D design that works from both ends of the aisle. You can also read more about our custom exhibition stalls. Start through Plan your project or call or WhatsApp us on +91 70190 58391.